
Are you looking for a new technology-based hobby? If you’re interested in bringing a brand-new piece of technology to life, you should seriously consider building your own Magic Mirror. Whether you’re a tech guru or a novice designer, this task will keep you entertained for weeks.
Want to learn more about the ins and outs of Magic Mirror design? If so, be sure to check out the DIY guide below.
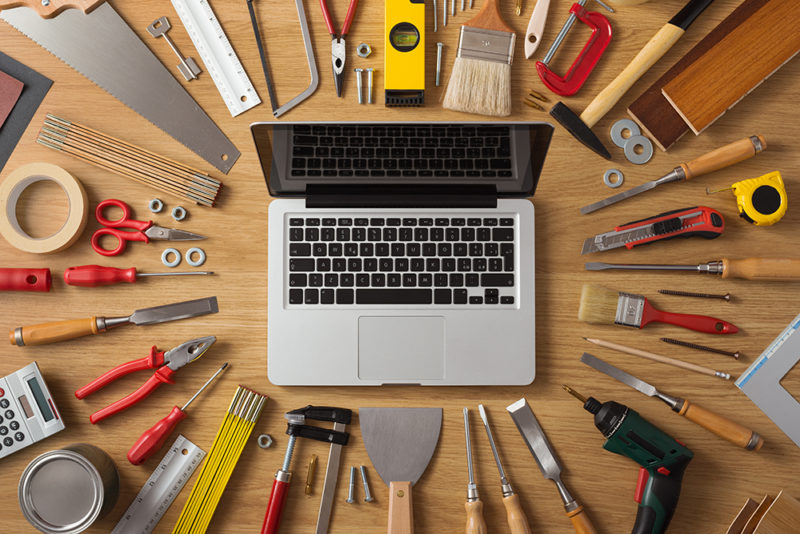
Equip yourself with the right tools
You won’t get very far in this design endeavor if you don’t equip yourself with the right tools for the job. If you want to build a Magic Mirror that functions optimally, you simply need to acquire a few essential pieces of equipment.
Here are the tools you need if you want to build a sturdy Magic Mirror:
- Computer screen, keyboard, and mouse;
- Raspberry PI operating system;
- USB power cord;
- HDMI to VGA adapter;
- SD card (8GB or more memory capacity is preferred);
- Finally, and above all, a mirror!
Install the Raspberry Pi
Once you’ve found the essential operating system known as Raspberry PI, it’s time to install its hardware. To ensure you maximize the potential of this technological tool, you must connect it correctly. To do this, you need to run one of its cords through the base of your mirror. This may seem like a small and insignificant task, but doing so will make it easier to optimize your Magic Mirror in the future. Once this cord is run, your mirror will be less likely to experience crashes, simply because it won’t be overloaded with data.
Optimize your PCB layout
When building a Magic Mirror, the slightest mistake can prove incredibly costly in the long run, which is why you simply can’t afford to leave things to chance when you decide to take on this DIY challenge.
This is especially important when it comes to implementing and subsequently optimizing your PCB layout. This essential piece of technology is simply the heart of your Magic Mirror—without it, the considerable effort you put into this design task would be for nothing.
To increase your chances of optimizing your PCB layout, it’s imperative to equip yourself with the free Atrium printable electrical panel label. This powerful yet easy-to-access tool will help you increase productivity while producing error-free printed circuit boards.
If you want to succeed in this DIY endeavor, it’s absolutely essential that you put all the tips above into practice. Once you’re equipped with the right tools, set up the Raspberry PI, and optimize your PCB layout, your Magic Mirror will undoubtedly be the talk of the tech community!